
Set Up MySafePouch for Daily Pouch Check-Out
Every Safe Pouch school gets free access to MySafePouch, our pouch management and enforcement tool. This guide walks your staff through setting up your school so students check out a pouch each morning and check it back in after school — so every pouch is accounted for, every day.
- 1Get admin access
- 2Dashboard
- 3Add pouches
- 4Import students
- 5Add staff & kiosk mode
- 6Run the kiosk
- 7Check pouches in
Request admin access for your school
Email us at hello@winelements.com with your school name and the name and email of the staff member who will manage MySafePouch. We’ll set up your school and assign that person as your school’s admin.
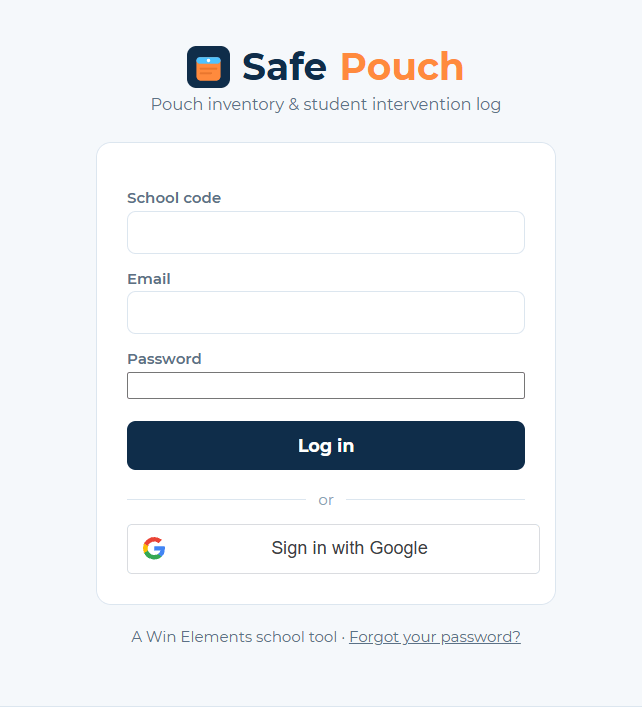
Once your account is ready, sign in at MySafePouch.com with your school code, email, and password — or use Sign in with Google.
Get to know your Dashboard
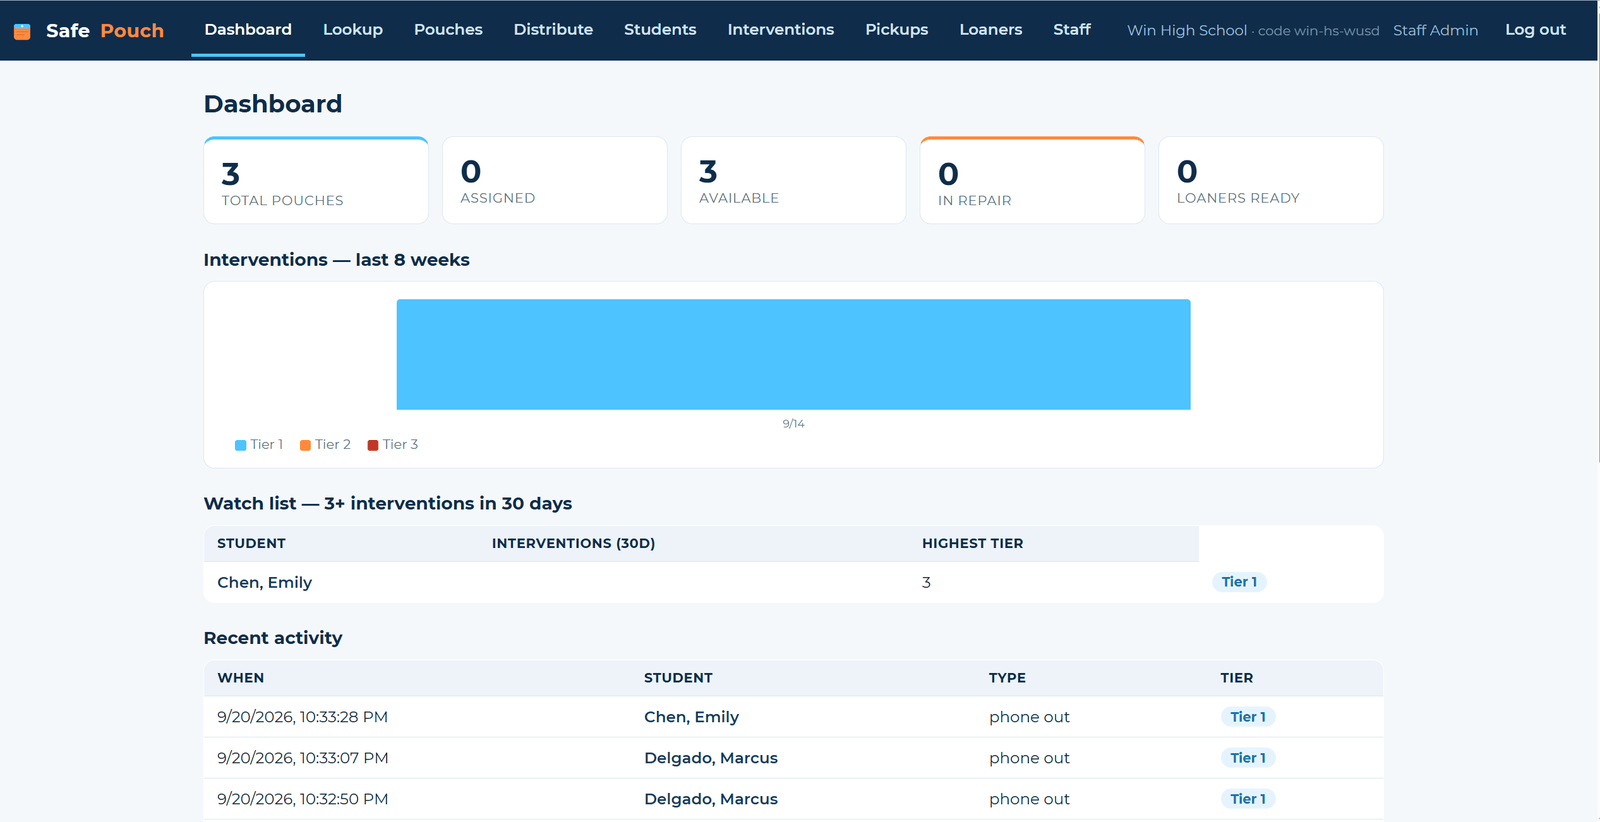
After you sign in as an admin, you’ll land on your Dashboard. It gives you a summary of your pouches and recent activity in one place. The menu across the top takes you to every tool you’ll use in the steps below.
Add your pouches
Click Pouches in the top menu. Under Add pouches, enter your pouch numbers in whatever format your school already uses (for example 001, A-17, or RM204-3):
- Type one pouch per line, or separate them with commas.
- Or use the numbered range shortcut (for example, 1–450) to add a whole set at once.
- Before you click Add pouches, choose the correct color, type, lock tier, and role. These settings apply to the whole batch, so add a separate batch for each color or lock tier.

Import your students
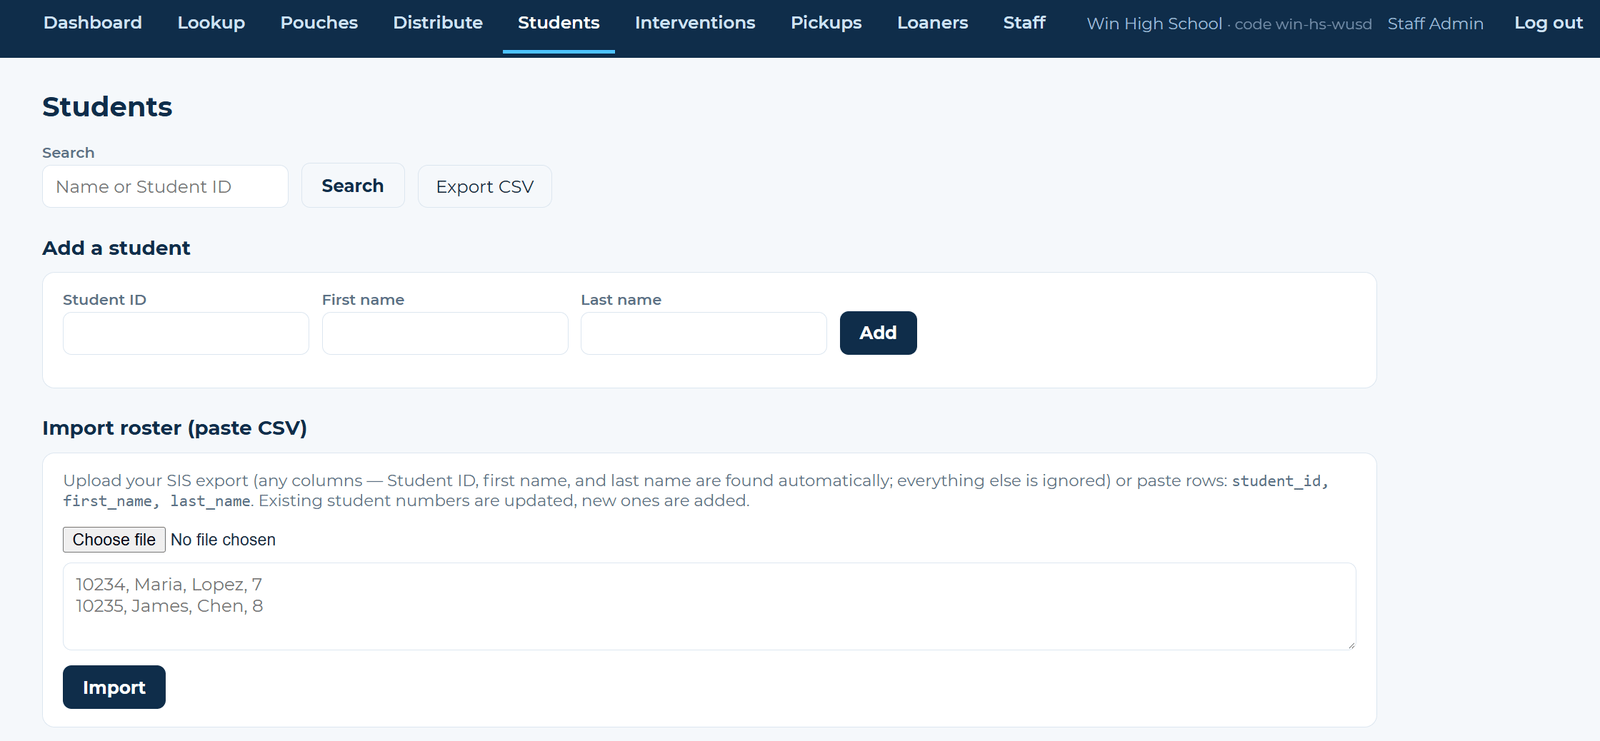
Click Students. The fastest way to add your roster is to export a CSV file from your school’s Student Information System (SIS) and import it under Import roster.
- The file needs each student’s Student ID, first name, and last name. Extra columns are fine — they’re ignored.
- You can also paste rows directly in this format:
student_id, first_name, last_name - Re-importing later is safe: existing students are updated and new students are added.
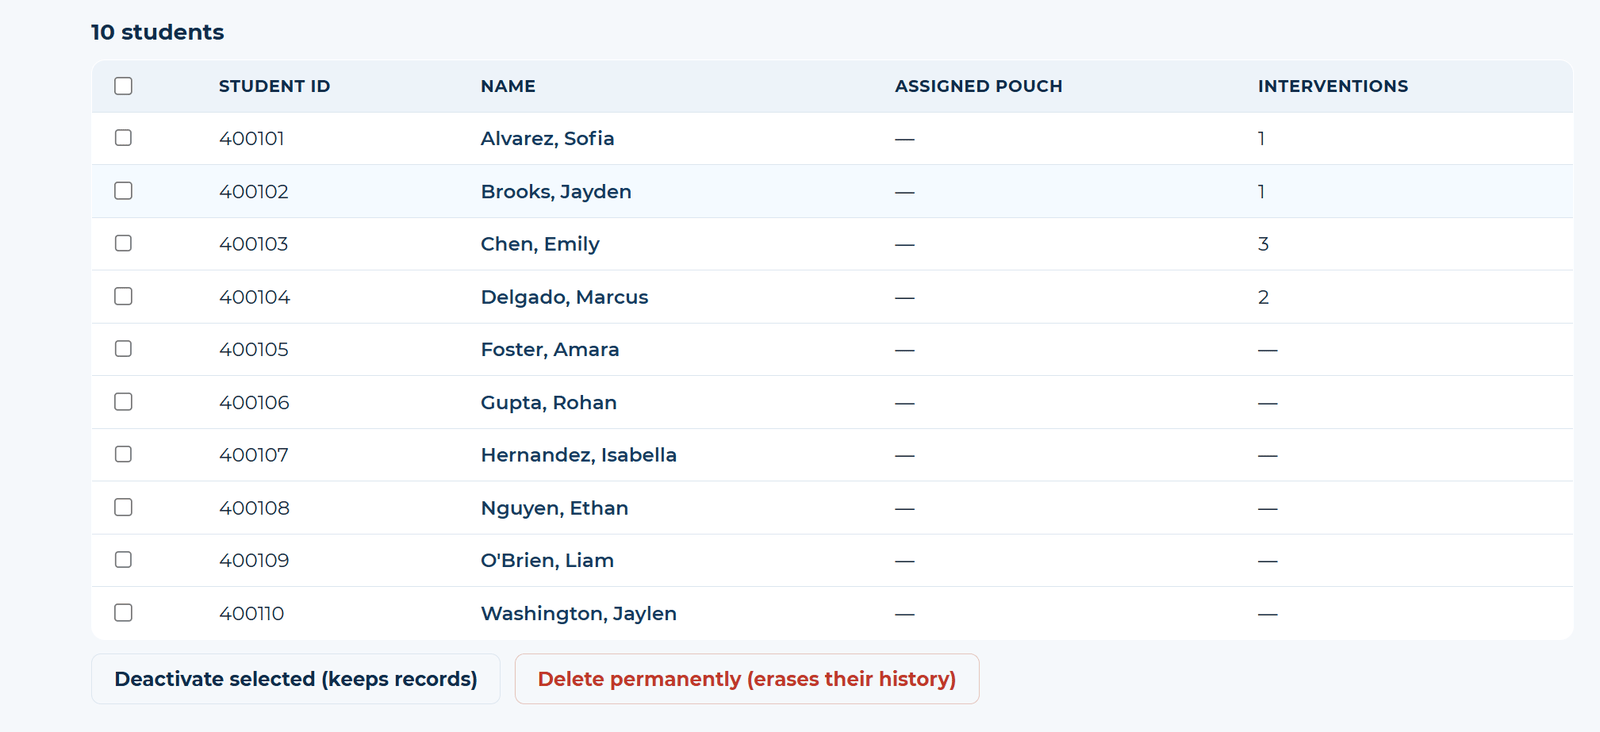
Your imported students will appear in the list below the import box.
Add your staff and choose your kiosk mode
Click Staff. Under Add a staff member, enter each teacher’s or staff member’s name and email, choose their role, and click Create account. Staff accounts let your team run the pickup kiosk, record interventions, and handle other everyday tasks. When you add administrative staff, send them their temporary login by email so they can sign in.
At the top of the same page, set up your Pouch pickup kiosk:
- Under What a kiosk scan does, pick the mode that matches how your school uses pouches. For morning check-out and after-school return, choose Daily pickup and click Save mode.
- Set a kiosk PIN (4–8 digits) and share it with the staff who will open the kiosk each morning.
Tip: Double-check the kiosk mode before your first day. The mode decides what happens every time a student scans in.

Run the kiosk each morning
You’re set up! A kiosk can be any shared Chromebook, tablet, or laptop. Students never need their own login.
- On the device, go to mysafepouch.com/kiosk.
- A staff member unlocks it once with the school code and kiosk PIN.
- Each student scans their ID (or types their Student ID), then enters the number of the pouch they picked up for the day.


Check pouches back in after school
After school, click Pickups. You’ll see every pouch that’s still out today. Tap each pouch number as it comes back, or use Check in all of today’s pouches. Hover over a pouch to see which student has it.
Because every check-out is recorded, if a pouch comes back damaged, you’ll know exactly which student had it that day.

Ready to set up your school?
Email us your school name and your admin’s contact info, and we’ll get your MySafePouch account ready.
Email hello@winelements.comAlready set up? Sign in to MySafePouch
